[Spring] Websocket / Sock js를 사용한 실시간 알림전송 기능 구현
프로젝트에 채팅기능을 구현시키기전에, 웹소켓을 이용하여 로그인 사용자에게 실시간 알림메시지를 보내는 기능을 구현했다.
기능
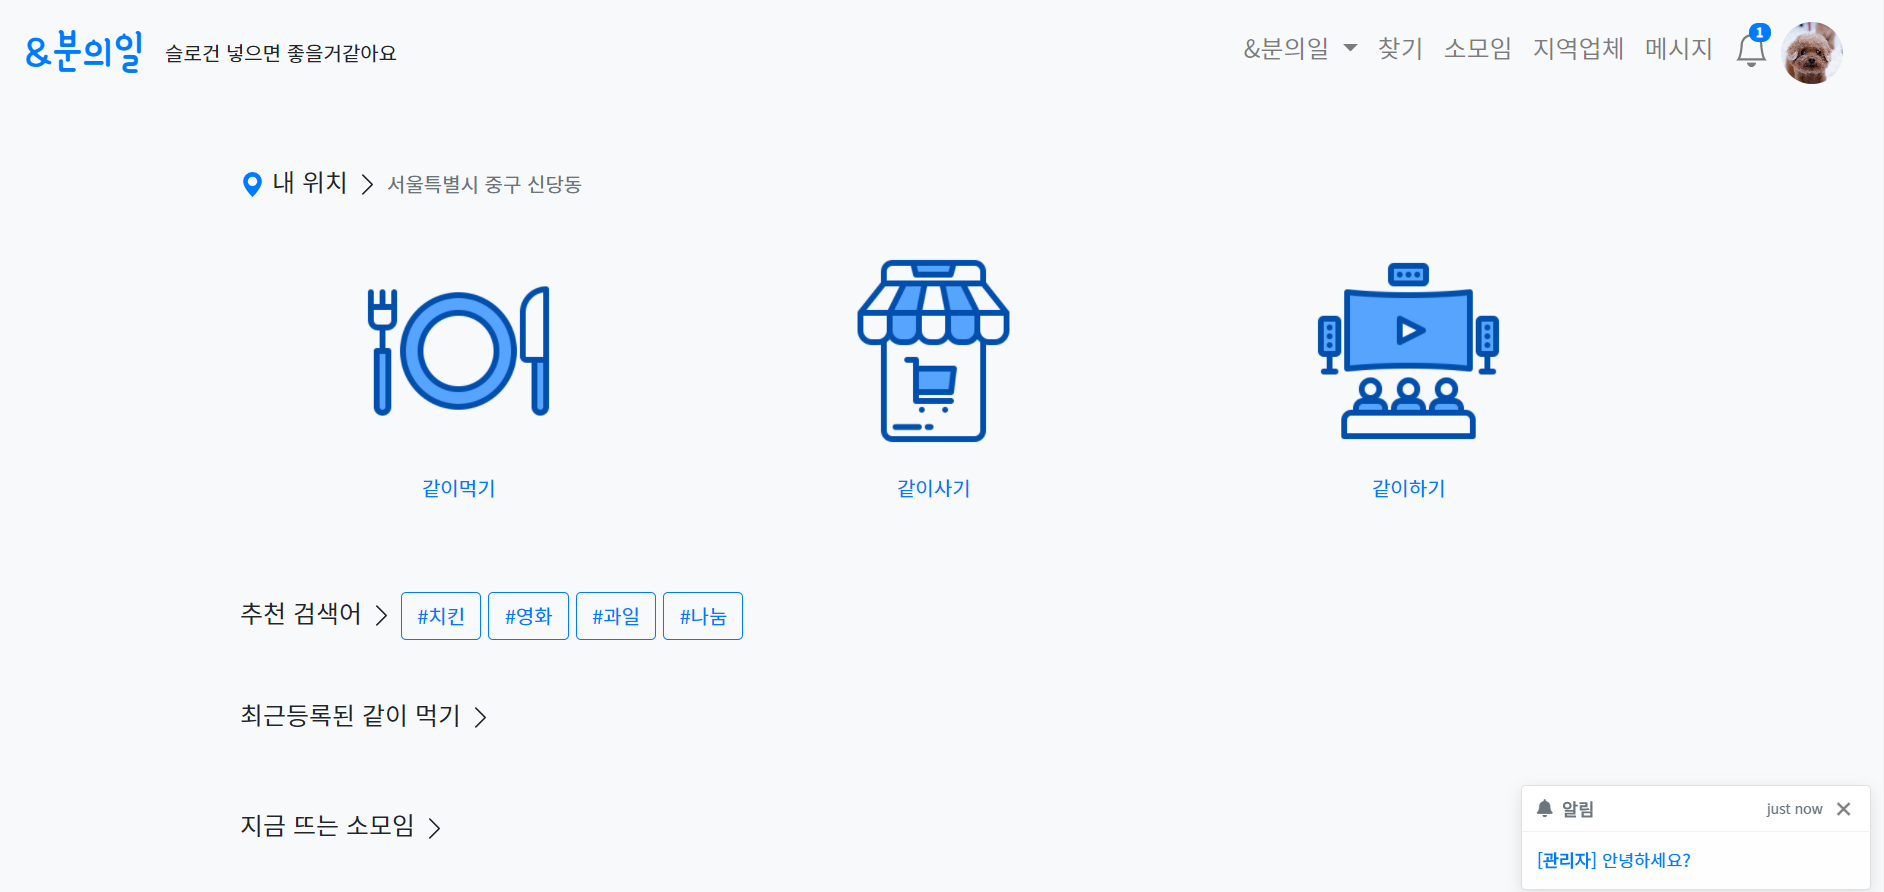
- 로그인 중인 멤버가 관리자 메시지를 받으면 toast를 받고, 알림 db에 저장한다.
pom.xml 설정
<dependency>
    <groupId>org.springframework</groupId>
    <artifactId>spring-websocket</artifactId>
    <version>${org.springframework-version}</version>
</dependency>
Handler
servlet-context.xml 설정
<beans:bean id="echoHandler" class="common.socket.EchoHandler" />
<websocket:handlers>
    <websocket:mapping handler="echoHandler" path="/echo-ws" />
    <websocket:handshake-interceptors>
        <beans:bean class="org.springframework.web.socket.server.support.HttpSessionHandshakeInterceptor" />
    </websocket:handshake-interceptors>
    <websocket:sockjs />
</websocket:handlers>
servlet-context에 TextWebSocketHandler를 상속받은 EchoHandler를 의존성 주입한다.
로그인을 하여 httpSession에 아이디가 저장된 회원에게만 실시간 알림을 보낼 예정이므로
HttpSessionHandshakeInterceptor를 통해 httpSession과 websocketSession을 연결시켜주고,
sockjs를 사용할 예정이므로 <websocket:sockjs />도 추가한다.
EchoHandler.java
public class EchoHandler extends TextWebSocketHandler{

	// 로그인중인 개별유저
	Map<String, WebSocketSession> users = new ConcurrentHashMap<String, WebSocketSession>();


	// 클라이언트가 서버로 연결시
	@Override
	public void afterConnectionEstablished(WebSocketSession session) throws Exception {
		String senderId = getMemberId(session); // 접속한 유저의 http세션을 조회하여 id를 얻는 함수
		if(senderId!=null) {	// 로그인 값이 있는 경우만
			log(senderId + " 연결 됨");
			users.put(senderId, session);   // 로그인중 개별유저 저장
		}
	}
	// 클라이언트가 Data 전송 시
	@Override
	protected void handleTextMessage(WebSocketSession session, TextMessage message) throws Exception {
		String senderId = getMemberId(session);
		// 특정 유저에게 보내기
		String msg = message.getPayload();
		if(msg != null) {
			String[] strs = msg.split(",");
			log(strs.toString());
			if(strs != null && strs.length == 4) {
				String type = strs[0];
				String target = strs[1]; // m_id 저장
				String content = strs[2];
				String url = strs[3];
				WebSocketSession targetSession = users.get(target);  // 메시지를 받을 세션 조회

				// 실시간 접속시
				if(targetSession!=null) {
					// ex: [&분의일] 신청이 들어왔습니다.
					TextMessage tmpMsg = new TextMessage("<a target='_blank' href='"+ url +"'>[<b>" + type + "</b>] " + content + "</a>" );
					targetSession.sendMessage(tmpMsg);
				}
			}
		}
	}
	// 연결 해제될 때
	@Override
	public void afterConnectionClosed(WebSocketSession session, CloseStatus status) throws Exception {
		String senderId = getMemberId(session);
		if(senderId!=null) {	// 로그인 값이 있는 경우만
			log(senderId + " 연결 종료됨");
			users.remove(senderId);
			sessions.remove(session);
		}
	}
	// 에러 발생시
	@Override
	public void handleTransportError(WebSocketSession session, Throwable exception) throws Exception {
		log(session.getId() + " 익셉션 발생: " + exception.getMessage());

	}
	// 로그 메시지
	private void log(String logmsg) {
		System.out.println(new Date() + " : " + logmsg);
	}
	// 웹소켓에 id 가져오기
    // 접속한 유저의 http세션을 조회하여 id를 얻는 함수
	private String getMemberId(WebSocketSession session) {
		Map<String, Object> httpSession = session.getAttributes();
		String m_id = (String) httpSession.get("m_id"); // 세션에 저장된 m_id 기준 조회
		return m_id==null? null: m_id;
	}
}
위 코드는 Dev.awake님의 https://bloodfinger.tistory.com/40 포스트를 일부 참고했음을 밝힌다. (감사합니다.)
View
프로젝트 페이지 레이아웃에서 공통적으로 사용하는 header.jsp 파일 javascript 영역에 웹 소켓을 연결시킨다.
header.jsp / 유저가 받는 영역
<!-- sockJS -->
<script src="https://cdn.jsdelivr.net/npm/sockjs-client@1/dist/sockjs.min.js"></script>
<script>
// 전역변수 설정
var socket = null;
$(document).ready(function(){
// 웹소켓 연결
sock = new SockJS("<c:url value="/echo-ws"/>");
socket = sock;
// 데이터를 전달 받았을때
sock.onmessage = onMessage; // toast 생성
...
});
// toast생성 및 추가
function onMessage(evt){
var data = evt.data;
// toast
let toast = "<div class='toast' role='alert' aria-live='assertive' aria-atomic='true'>";
toast += "<div class='toast-header'><i class='fas fa-bell mr-2'></i><strong class='mr-auto'>알림</strong>";
toast += "<small class='text-muted'>just now</small><button type='button' class='ml-2 mb-1 close' data-dismiss='toast' aria-label='Close'>";
toast += "<span aria-hidden='true'>×</span></button>";
toast += "</div> <div class='toast-body'>" + data + "</div></div>";
$("#msgStack").append(toast); // msgStack div에 생성한 toast 추가
$(".toast").toast({"animation": true, "autohide": false});
$('.toast').toast('show');
};
</script>
...
<body>
...
<div id="msgStack"></div>
</body>
받는 영역을 설정했으면, 개별 메시지를 보내는 영역에서도 설정해준다.
메시지 전송 영역 javascript
// notifySend
$('#notifySendBtn').click(function(e){
    let modal = $('.modal-content').has(e.target);
    let type = '70';
    let target = modal.find('.modal-body input').val();
    let content = modal.find('.modal-body textarea').val();
    let url = '${contextPath}/member/notify.do';
    // 전송한 정보를 db에 저장
    $.ajax({
        type: 'post',
        url: '${contextPath}/member/saveNotify.do',
        dataType: 'text',
        data: {
            target: target,
            content: content,
            type: type,
            url: url
        },
        success: function(){    // db전송 성공시 실시간 알림 전송
            // 소켓에 전달되는 메시지
            // 위에 기술한 EchoHandler에서 ,(comma)를 이용하여 분리시킨다.
            socket.send("관리자,"+target+","+content+","+url);
        }
    });
    modal.find('.modal-body textarea').val('');	// textarea 초기화
});
메시지 전송시
메시지 수신시
잘 나오는 것을 확인할 수 있다. 😊


Comments